


Type: Instruments
Complete Suture Practice Kit with 14 Wound Pad & Surgical Tools
Type: Instruments
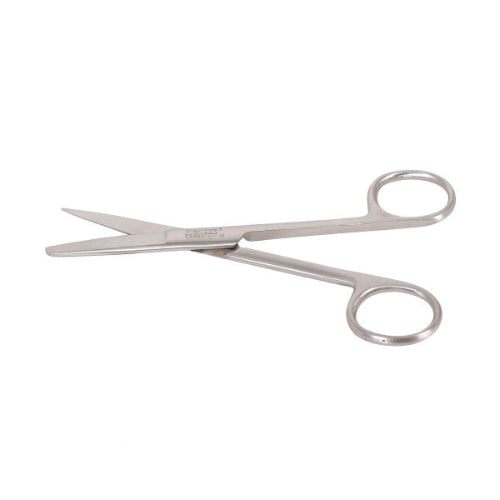
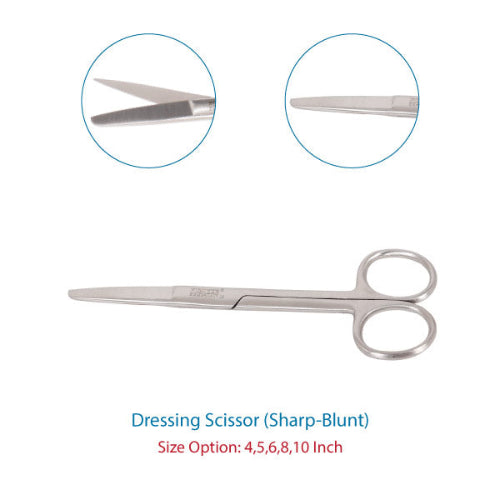
Dressing Scissor Sharp Blunt Straight

Type: Surgical Accessories
Premium Niko Skin Stapler 35W
Type: General Instruments
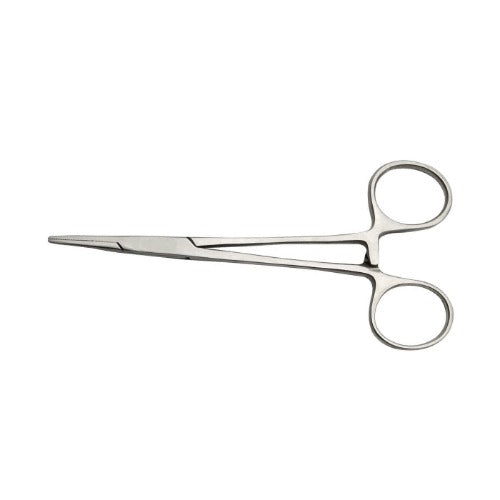
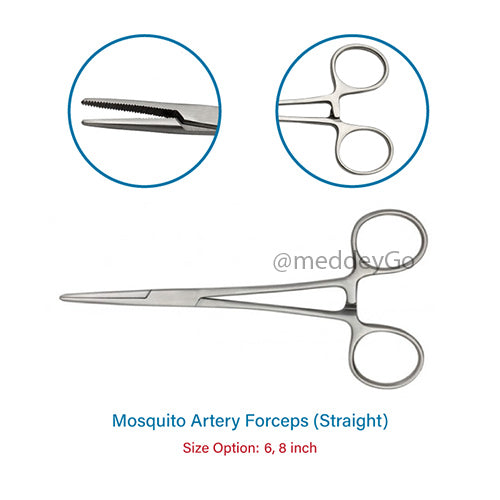
Mosquito Artery Forceps Straight
Type: General Instruments
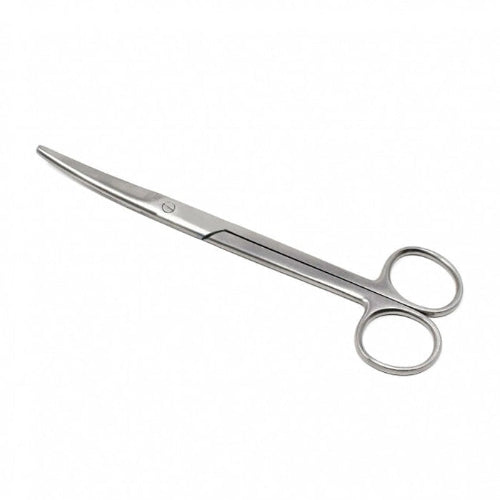
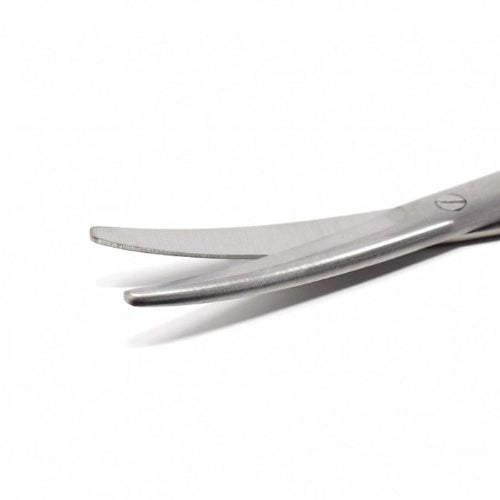
Mayo Scissors (Curved) Bladed Blunt Blulnt

Type: MeddeyGo
Mayo Scissor Surgical Instrument
Type: Instrument
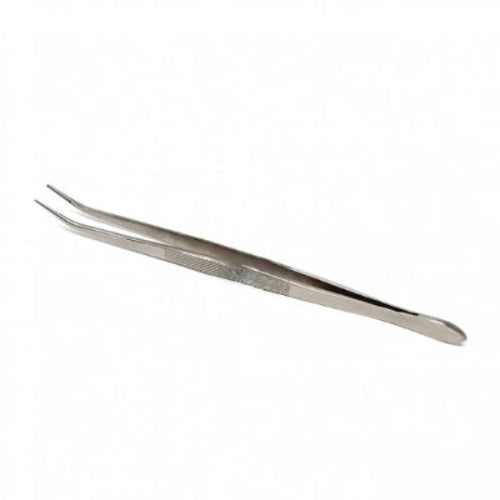
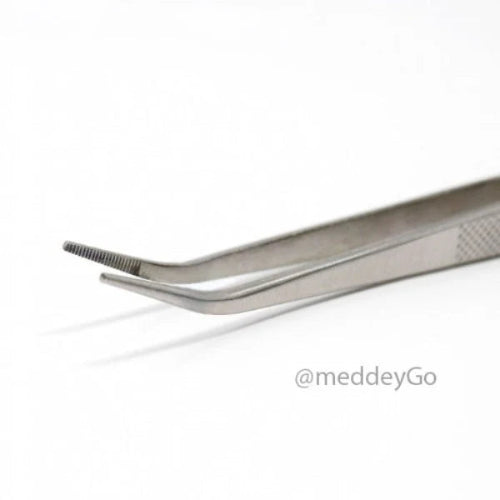
Dental Tweezer Surgical Instrument
Type: General Instruments
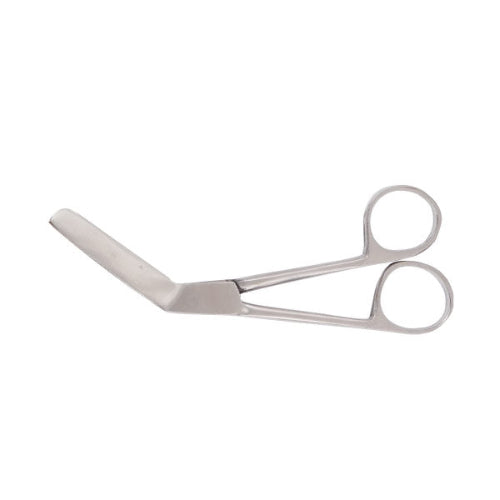
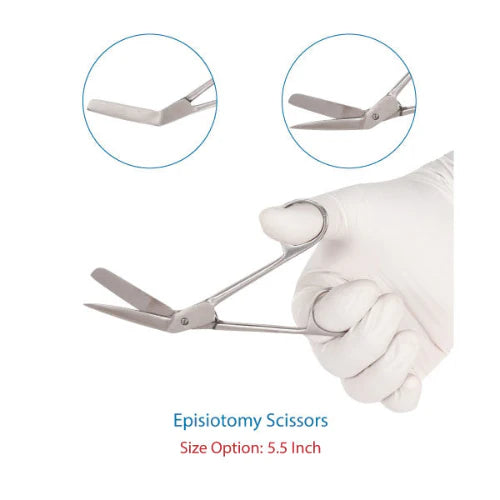
Episiotomy Scissor Surgical Instrument


Type: Medansh
Dressing Surgical Scissor Straight


Type: MeddeyGo
Vicryl Rapide Sutures USP 2-0, Circle Tapercut NW2762


Type: Operating Room
Mobile Surgical Light 60 LED 180K Lux HEX CT 5 for OT & Procedure Rooms


Type: MeddeyGo
Neil Robertson Stretcher for Rescue Purpose and Carrying Patients
Type: General Instruments
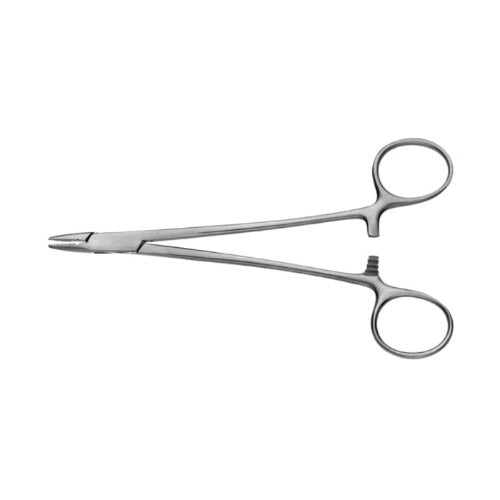
Mayo-Hegar Needle Holding Forceps SS
Type: Instrument
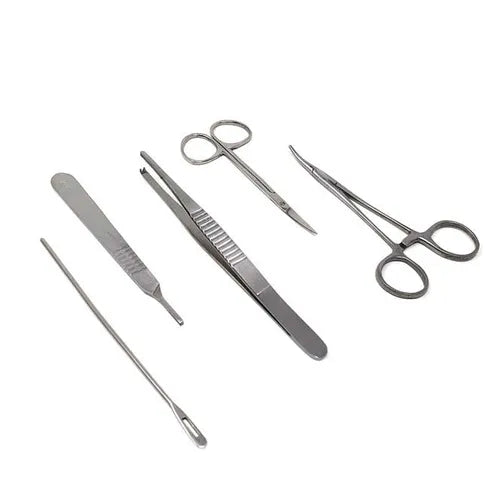
Debridement Instrument kit
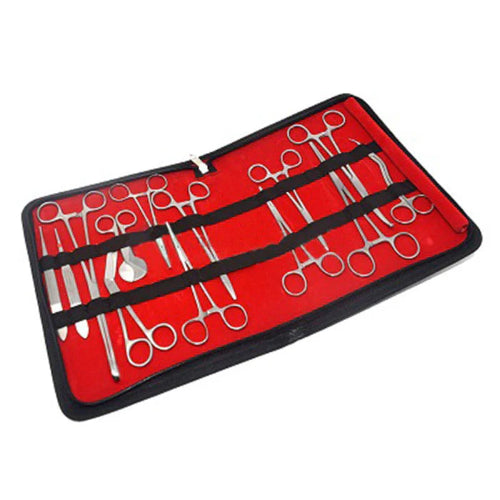
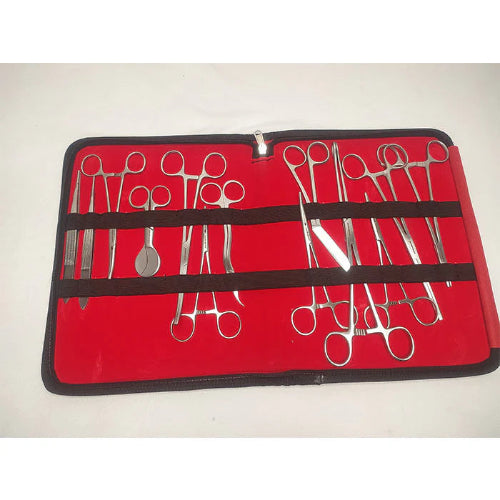
Type: MeddeyGo
Delivery Instrument Kit Set
Collection:
Understanding Different Types of Sutures

If you've ever had a deep cut, you know the familiar trip to the doctor that ends with a neat row of stitches. But have you ever wondered about that medical thread? Or why some stitches need to be removed while others seem to magically disappear on their own? The world of stitches is more fascinating than you might think, and understanding it can make a stressful situation feel a lot more manageable.
First, let's clear up a common point of confusion: are sutures the same as stitches? In practice, the terms are used interchangeably, and that's perfectly okay. Technically, however, the "suture" is the actual thread, while the "stitch" is the loop the doctor makes with it. Think of it like sewing: the suture is the thread on the spool, and the stitch is the technique you use to mend the fabric.
Beyond just closing a cut, how stitches help wounds heal depends entirely on that thread. Is it made of a natural material or a synthetic polymer? Is it designed to be strong and permanent or to dissolve safely within the body? Doctors consider the wound's location, depth, and tension to choose the perfect suture for the job, ensuring everything from a scraped knee to a surgical incision heals with the best possible result.
This guide explores what sutures are made of, why different types are used for different wounds, and how to care for your stitches to minimize scarring. Knowing the "why" behind your treatment is empowering, turning a moment of injury into an opportunity for insight.
What Are Surgical Stitches Actually Made Of? (It's Not Catgut)
For centuries, a persistent rumor claimed that surgical stitches were made from cat intestines. Thankfully, that was never true! The original "catgut" suture was actually derived from the purified collagen of healthy animals like sheep and cows.
So, what are surgical stitches made of today? The vast majority are synthetic polymers, which are essentially highly specialized, medical-grade plastics engineered in a lab. The surgical suture has evolved dramatically; one of the first major breakthroughs was the polyglycolic suture, a material designed to be both strong and predictable. These synthetics give doctors precise control over how a stitch will perform, from its strength to how smoothly it passes through tissue.
This shift to engineered materials happened for a crucial reason: patient safety. Natural materials could sometimes cause inflammation or an allergic reaction. Synthetics, however, are exceptionally pure and biocompatible, meaning the body accepts them with very little fuss. They also offer predictable strength and, for certain types, a reliable dissolving timeline. This consistency is key to ensuring a wound heals properly, especially when stitches are placed deep inside the body where they can't be easily removed.
The "Disappearing Act": How Absorbable Sutures Work
One of the most common questions people have after a procedure is, "Do I need to get these stitches out?" The answer depends on whether your doctor used absorbable sutures. These incredible medical threads are designed to hold tissue together securely and then simply fade away on their own, eliminating the need for a removal appointment.
But how does a stitch just "disappear"? It's not magic, but a clever chemical process called hydrolysis. Absorbable sutures are made from materials, like the polyglycolic acid suture mentioned earlier, that react safely with the natural moisture in your body. This process slowly breaks the suture down into substances that your body can easily absorb, much like it processes nutrients. It's a clean and predictable self-destruct sequence that leaves nothing behind.
The benefits of absorbable stitches make them the go-to choice for closing internal tissues that can't be reached later. You'll also find them used in places where removal would be difficult or uncomfortable, such as:
- Inside the body after an operation
- Following wisdom tooth extractions
- For some delicate facial repairs to minimize scarring
- After childbirth
So, how long for dissolvable stitches to go away? There's no single answer. A fine suture might dissolve in a couple of weeks, while a stronger internal stitch is engineered to provide support for months. Your doctor chooses the exact material based on how long your specific tissue needs to heal. But what about wounds that need unwavering support on the outside of the body?
Built to Last: Why Some Stitches Need to Be Removed
While dissolving stitches are perfect for internal healing, some wounds need a more rugged and durable kind of support. This is where non-absorbable sutures come in. Think of them as the heavy-duty support cables of the medical world. Their primary job is not to disappear but to provide unwavering strength on the outside of the body for the entire initial healing period, ensuring the edges of a wound stay perfectly aligned without stretching or breaking.

You'll most often find this non-absorbable surgical thread used for skin-level cuts, especially in high-tension areas like over a knee or elbow. Materials like nylon or silk are incredibly strong and cause very little reaction in the skin, making them ideal for this task. Using a sturdy nylon suture gives a wound the best possible environment to heal cleanly, which is a key factor in minimizing the final appearance of a scar.
Because these sutures are designed for strength rather than absorption, suture removal is a necessary and positive step in your recovery. It's a clear signal that your skin has healed enough to hold itself together without help. This simple in-office procedure is the final stage, marking the successful completion of the suture's job. But beyond dissolving or not, the very texture of the thread---smooth or braided---plays its own important role in healing.
Smooth or Braided? How Suture Texture Affects Healing
Beyond whether they dissolve, the very texture of medical stitches plays a huge role in healing. Just as you'd use smooth fishing line for one task and a sturdy, braided rope for another, sutures come in two basic structures: single-strand or braided. This choice directly impacts how the suture behaves in your body and is a key part of wound closure strategy.
The first type, a monofilament suture, is a single, smooth strand. Think of it like a strand of nylon fishing line. Its smooth surface is a major advantage, as it glides through delicate tissue with minimal friction or snagging. Crucially, this slick surface gives bacteria no nooks or crannies to hide in, which can help lower the risk of an infection developing along the stitch line.
In contrast, a multifilament suture is made of several smaller threads braided or twisted together, much like a tiny, high-tech shoelace. This design makes the thread more flexible and allows for exceptionally strong and secure knots that are less likely to slip. The trade-off, however, is that the microscopic crevices in the braid can potentially harbor bacteria. For this reason, doctors carefully consider the location and infection risk before choosing this type.
A doctor weighs the need for a smooth pass through tissue against the need for a rock-solid knot.
- Monofilament (Single Strand): Smooth, glides easily, and has a lower infection risk.
- Multifilament (Braided): More flexible, holds stronger knots, but has a higher infection risk.
This choice, combined with whether the suture is absorbable or not, allows for a truly customized approach to healing. But there's one more crucial detail a doctor must consider: the actual thickness of the thread. And when it comes to suture sizing, things get a little counterintuitive.
Cracking the Code: Why a "6-0" Suture is Smaller Than a "2-0"
When it comes to the thickness of a suture , the sizing system can feel a bit backward at first. The rule is simple: the bigger the number in front of the "-0," the smaller and more delicate the thread. This means a 6-0 suture is significantly finer than a 2-0 suture. Far from being a random quirk, this system allows surgeons to precisely match the thread's strength and size to the specific tissue they are repairing.
Think of it like sandpaper. A high-grit number, like 220, is used for fine, delicate finishing, while a low number is for heavy-duty work. Similarly, a surgeon uses an ultra-fine 6-0 or even 7-0 suture on the face, where minimizing the scar is a top priority. For a deep cut on a high-tension area like the back or knee, they would need a much stronger, thicker 2-0 or 3-0 suture to hold the wound edges together securely as you move.
The difference is not trivial; a 6-0 thread can be as fine as a human hair, while a thicker surgical suture is more like heavy fishing line. This thickness also determines the size of the attached suture needle ---a delicate thread requires an equally delicate needle to pass through tissue. Considering all the suture types available---absorbable or not, braided or smooth, and now dozens of sizes---the final choice is a critical medical decision.

The Doctor's Decision: How a Suture is Chosen for Your Wound
With so many variables at play---dissolving or not, smooth or braided, thick or hair-thin---how does a medical professional decide which thread to use? The selection is far from random; it's a rapid but careful calculation based entirely on you and your specific injury. The doctor essentially asks three key questions: Where is the wound? How much tension is on it? And what's the goal of the closure?
Imagine the stark difference between a deep gash on your knee and a small laceration on your eyelid. The knee is a high-tension area that bends constantly. It demands strong, durable stitches that can hold the skin together against movement, making strength the priority over cosmetics. The eyelid, however, is delicate, low-tension tissue where the primary goal is a flawless cosmetic result with the smallest possible scar. These two scenarios require completely different types of medical stitches.
For that knee wound, a doctor might choose a strong, non-absorbable suture, perhaps a 3-0 size, to provide durable support until the skin is fully healed. For the delicate facial wound, however, the logic flips. A doctor would likely select an extremely fine, non-absorbable monofilament suture, like a 6-0 or 7-0. The fine size minimizes needle marks, and its non-absorbable nature allows the doctor to remove it in just a few days---preventing the stitch itself from leaving an imprint.
Ultimately, the choice of suture is a precise blend of science and experience. Every material, size, and texture is a tool designed for a specific job. Now that the wound is closed, the next crucial step in good healing is how you care for them at home.
Keeping It Clean: How to Care For Stitches After Surgery
Your doctor has skillfully closed the wound, but the next phase of healing happens on your watch. When caring for stitches, the most important rule is simple: keep the area completely dry for the first 24 to 48 hours, or as long as your doctor instructs. This critical window gives the skin edges a head start on sealing together, forming a protective barrier that is your first line of defense against infection. Cover the area with a waterproof dressing for showers during this time.
After that initial dry period, your focus shifts from avoiding water to gentle, deliberate cleaning. Proper wound care is straightforward if you follow a few key guidelines:
- DO gently wash the area daily with mild soap and water.
- DO pat the wound dry with a clean towel; don't rub.
- DON'T soak the wound in a bath, hot tub, or swimming pool until it's fully healed.
- DON'T apply lotions, hydrogen peroxide, or other ointments unless specifically instructed by your doctor.
- DON'T pick at scabs or pull on the suture threads, as this can damage the new skin.
It might feel counterintuitive to wash a wound, but this gentle cleaning is crucial. It removes surface bacteria and debris that could otherwise lead to trouble. These wound care techniques are designed to be resilient, but paying attention to daily care is your best defense against complications. Even with perfect care, however, it's vital to know how to spot the early warning signs of an infection.
Red Flags: 5 Signs of an Infected Stitch Site to Watch For
A little pinkness and tenderness right along the incision line is normal as your body begins the healing process. The signs of an infected stitch site, however, are quite different and signal that harmful bacteria have taken hold. Knowing how to distinguish between normal healing and an infection is one of the most important parts of post-procedural care, as catching a problem early makes it much easier to treat.
Keep a close watch for these five red flags. If you notice any of them, it's a clear signal to act:
- Spreading Redness: The redness expands and creeps outward from the suture line, instead of staying contained.
- Increased Pain or Swelling: The area gets more painful, tender, or swollen after the first 48 hours instead of gradually feeling better.
- Pus or Drainage: You see cloudy, thick fluid (often yellow or green) seeping from the wound, or you notice a foul odor.
- Warmth: The skin around the stitches feels hot to the touch when compared to the surrounding area.
- Fever: You develop a body temperature of 100.4°F (38°C) or higher.
If you experience one or more of these symptoms, don't "wait and see." Contact your doctor or the clinic where you were treated immediately. An infected wound requires prompt medical attention to prevent the problem from becoming more serious. While infection is a primary concern, other issues can also arise during healing. For instance, what happens if a stitch breaks or comes loose before it's supposed to?
What Should I Do If a Stitch Comes Out Early?
Finding a broken or loose stitch can be worrying, but the first step is to stay calm and take a look. The most important question is whether the skin edges are still touching. If a single stitch has come undone but the wound itself remains neatly closed, the situation is often not an emergency. The remaining stitches are likely doing their job holding everything in place, and this is a common part of aftercare as the wound contracts.
However, if the broken stitch has caused the wound to pull apart and create a gap, it requires more immediate attention. A wound that opens up can delay healing and significantly increases the risk of infection. You might see the deeper layers of tissue, which should always be protected. This is a clear signal that the healing process has been interrupted and needs professional evaluation.
Whatever the case, do not attempt to fix the problem yourself with a home suture kit or adhesive. Your job is simple and safe: gently place a clean, sterile bandage over the area to protect it, and then call your doctor's office or clinic right away. They can assess the situation over the phone and will provide precise instructions on whether you need to come in for a repair or if it's safe to let it be.
The Final Step: What to Expect During Suture Removal
Once your wound has healed enough, the suture removal process is surprisingly quick and straightforward. A nurse or doctor will use a pair of sterile tweezers to gently lift the knot of each stitch and a special pair of suture cutting scissors to snip the thread. These suture removal scissors often have a tiny hook on one tip, allowing them to slide safely under the stitch without poking your skin. With one quick snip, they can then pull the single, smooth strand of suture out. The whole process for a typical cut is often over in just a couple of minutes.
For most people, the biggest question is simple: will it hurt? The good news is that the procedure is rarely painful. Because the suture is just passing through healed skin, you shouldn't feel any sharpness. Instead, patients usually describe the sensation as a slight tickle or a gentle pulling as each stitch slides free. The feeling is often more unusual than it is uncomfortable, and any minor discomfort fades almost immediately.
Seeing how simple it is, you might wonder, "can you remove your own stitches?" The strong medical advice is to never attempt this. Household tools aren't sterile and can push bacteria deep into the healing wound track, causing a serious infection. It's also very easy to snip the wrong part of the stitch, leaving a piece behind under the skin, or to pull too hard and re-open the wound, leading to a worse scar. Always let a professional handle this final step to ensure your wound closes safely and cleanly.
Beyond the Stitches: 3 Ways to Minimize Scarring
Once your stitches are removed, the wound is closed, but the healing process is far from over. Your body will now spend the next year or more remodeling the area in a phase called scar maturation. During this time, the scar will slowly change in color and texture. While genetics play a big role in how you heal, you have a surprising amount of influence over the final outcome. Caring for the site properly is key to minimizing scarring from stitches.
First and foremost, protect the new skin from the sun. Fresh scar tissue is extremely vulnerable to UV radiation and can easily develop hyperpigmentation---a dark, permanent discoloration that makes the scar much more noticeable. For at least a year, make it a habit to apply a broad-spectrum sunscreen (SPF 30 or higher) to the area anytime it might be exposed to sunlight. This is the single most effective step you can take to prevent a healed line from turning into a dark, obvious mark.
Next, keeping the scar moisturized creates an ideal environment for healing. A hydrated scar tends to be softer, flatter, and less red. Many doctors recommend silicone gel or sheets, which are clinically proven to improve a scar's appearance. A simpler and more affordable option that also works well is applying a thin layer of basic petroleum jelly. The goal is to keep the skin from drying out, which helps the new collagen settle in a more organized, less lumpy way.
Finally, once the wound is fully closed and no longer tender, gentle massage can help. After getting the okay from your doctor, use your fingertips to rub the scar for a few minutes each day. This light pressure can help break down dense bundles of collagen, softening the scar and preventing it from feeling hard or raised. These simple post-care steps---sun protection, moisture, and massage---work together to support your body's natural healing process for the best possible result.
When Stitches Aren't Used: A Quick Look at Staples and Skin Glue
While stitches are the go-to solution for many wounds, they aren't the only tool in a doctor's kit. Depending on the injury's location and severity, two other common methods might be used instead: surgical staples and medical-grade skin glue. Each is chosen for its unique advantages in specific situations.
You are most likely to encounter surgical staples after an operation or for a long, straight cut, especially on the scalp where hair can make sutures tricky. Using a special medical stapler, a clinician can quickly and strongly fasten the edges of the skin together. When comparing surgical staples vs. stitches, the biggest advantage is speed---they allow for the rapid closure of a lengthy incision. The trade-off, however, is that they can sometimes leave more noticeable scarring, which is why they are less common on highly visible areas like the face.
For smaller, clean cuts that aren't under much tension, a doctor might opt for skin glue. This liquid adhesive is a fantastic, painless way to handle cuts instead of stitches, making it a favorite for children or anyone nervous about needles. The glue is simply applied over the top of the closed wound, where it forms a flexible, often waterproof seal. It then peels off on its own in 5 to 10 days as the skin heals underneath.

Ultimately, the choice between stitches, staples, or glue comes down to professional judgment. Your doctor will consider the wound's depth, location, and the need for strength versus a delicate cosmetic result. Whether the solution is a familiar suture or a newer alternative, the goal is always the same: to bring your skin together safely so it can heal strong.
A Confident Approach to Wound Healing
A simple stitch is no longer just a stitch; it's a reflection of material science, anatomy, and medical expertise working in your favor. Knowing the fundamentals of how sutures work empowers you to be an active participant in your recovery.
The next time you or a loved one needs care for a wound, you can approach the situation with confidence. You now understand the key factors a doctor considers: whether a suture should be absorbable for internal healing or non-absorbable for strength, braided for knot security or smooth to prevent infection, and sized appropriately for the specific tissue. This knowledge allows you to ask better questions and feel more in control.
Your role is just as critical. By following proper care instructions, watching for signs of infection, and taking steps to minimize scarring after removal, you directly contribute to a successful outcome. This partnership between medical treatment and informed patient care is the surest path to healing well.
Q&A
Question: Are sutures and stitches the same thing?
Short answer: In everyday use, yes. Technically, the suture is the thread itself, and the stitch is the loop or pass the clinician makes with that thread. Think sewing: the suture is the thread; the stitch is the technique used to close the wound.
Question: What are stitches made of today, and why don't we use "catgut" anymore?
Short answer: Modern sutures are primarily synthetic polymers (medical-grade plastics) engineered for strength, smooth passage through tissue, and predictable performance. Earlier "catgut" was never from cats---it came from purified collagen from animals like sheep and cows---but it's been largely replaced because synthetics are more biocompatible, cause less inflammation or allergic reaction, and offer reliable strength and, when designed to be absorbable, a consistent dissolving timeline. A landmark example is polyglycolic acid sutures.
Question: Will my stitches dissolve on their own, and how long does that take?
Short answer: It depends on whether they're absorbable. Absorbable sutures break down via hydrolysis---reacting with the body's moisture and safely degrading over time---so they don't need removal. They're commonly used for internal tissues, after wisdom tooth removal, some delicate facial repairs, and after childbirth. Dissolving time varies by material and size: fine sutures may resorb in weeks, while stronger internal ones can support tissue for months. Non-absorbable sutures (like nylon or silk) don't dissolve, are often used on skin---especially in high-tension areas---and are intentionally removed once the wound can hold together on its own.
Question: When are staples or skin glue used instead of stitches?
Short answer: Staples are favored for long, straight incisions or areas like the scalp where speed and strength matter; they close wounds quickly but can leave more noticeable scars, so they're used less on highly visible areas like the face. Medical skin glue works well for small, clean cuts under low tension; it forms a flexible, often waterproof seal and typically peels off on its own in 5--10 days---great for patients (including children) who'd prefer to avoid needles.
Question: How should I care for stitches at home, and what infection signs should I watch for?
Short answer: Keep the area completely dry for the first 24--48 hours (use a waterproof dressing for showers). After that, gently wash daily with mild soap and water, pat dry, avoid soaking (baths, hot tubs, pools), don't apply lotions/hydrogen peroxide/ointments unless your doctor says so, and don't pick at scabs or tug on threads. Watch for infection red flags and call your doctor promptly if you notice:
- Spreading redness beyond the incision line
- Increasing pain or swelling after the first 48 hours
- Pus or foul-smelling drainage
- Warmth around the stitches
- Fever of 100.4°F (38°C) or higher